How to Teach Cursive Writing: Step by Step for Beginners
By the Clipart Scout team8 min read
Short answer
Teach cursive in small steps. First check that your child can print comfortably and sit well. Then practice warm-up strokes, lowercase letters in groups that share a starting stroke, joins, short words, capitals and finally sentences. Keep each lesson to 10 to 15 minutes. Education Week reports that cursive is generally introduced in 2nd or 3rd grade, so those years are a common time to begin.
Key points
- Education Week reports that cursive is generally introduced in 2nd or 3rd grade, with no national rule.
- Start with comfort: a relaxed pencil grip, a supported back and paper tilted to suit the writing hand.
- Teach lowercase letters in groups that share a starting stroke. The order in this guide is our suggestion, not a rule.
- Short daily lessons of 10 to 15 minutes are easier to keep up than one long weekly session.
- Most slips, such as letters that float above the line, have a simple fix. The table below lists the common ones.
On this page
- How do you know a child is ready to learn cursive?
- How should a child sit, hold the pencil and place the paper?
- What is the best order to teach cursive letters?
- How do you teach joins, words and capitals?
- What does a 10 to 15 minute cursive lesson look like?
- What are the common problems and how do you fix them?
- How long does it take to learn cursive?
- What does research say about teaching handwriting?
- Which printables help with teaching cursive?
- What to do next
You want to teach your child cursive and you are not sure where to begin. Many parents learned it long ago and now have to explain something they stopped thinking about years back.
The short answer: go slowly and in order. Check that your child is ready, set up the seat and paper, practice warm-up strokes, teach lowercase letters in small groups, join them into words, add capitals, then move to sentences. Ten to fifteen minutes a day is plenty.
This guide gives that order, a lesson routine you can follow, and a table of common problems with fixes. Every order and time in it is our own practical suggestion. Where we cite a fact, we name the source. If you want to know when schools teach cursive, our guide to when kids learn cursive covers grades, states and readiness.
How do you know a child is ready to learn cursive?
A child is ready when printing no longer takes all of their attention. Education Week reports that students are generally not introduced to cursive until 2nd or 3rd grade, so those are the usual years to begin. There is no national rule, and a child does not need to start on a school’s schedule at home.
These signs are our suggestions, not a test:
If printing is still a struggle, spend a few more weeks on print first. Our print handwriting practice bundle is made for kindergarten to 2nd grade.
How should a child sit, hold the pencil and place the paper?
Set up the same way every time: feet flat, back supported, forearm resting on the table and the paper tilted. Good habits at this stage make every later step easier, and they are quick to check at the start of each lesson.
- Seat: A chair where the feet reach the floor, or a box or stool under them. The table should sit about at elbow height.
- Pencil: Held lightly between the thumb and the first two fingers, a finger’s width or so above the tip. A short pencil or a triangular grip can help small hands.
- Paper: For a right-handed child, tilt the top of the paper a little to the left. For a left-handed child, tilt it a little to the right. The helping hand holds the page still.
- Eyes and hand: The writing hand stays below the line being written, so the child can see the letters appear.
Tip: Cursive moves in one flowing line. Ask the child to write big and slow in the air or on a whiteboard before they use a pencil.
What is the best order to teach cursive letters?
A sensible order is to teach lowercase letters in groups that begin with the same stroke. There is no official order, so treat the table as one reasonable plan that you can change. Teach two or three letters from one group at a time, and review earlier letters before adding new ones.
| Step | Group | Letters | What the child practices |
|---|---|---|---|
| 1 | Undercurve letters | i, u, t, w, e, y | Starting on the baseline with a small upward swing |
| 2 | Round letters | c, a, d, g, o, q | Starting at the top like a “c”, then closing the round shape |
| 3 | Tall-loop letters | l, h, b, k, f, j | Looping up above the middle line and coming back down |
| 4 | Hump and point letters | n, m, v, x, p, r, s, z | Humps, points and small turns that stay close to the line |
Before step 1, spend a few days on warm-up patterns: swings, hills, cups, ovals and loops. These are the shapes every letter is built from, so the letters feel familiar when they arrive.
Our Cursive Handwriting Practice Bundle teaches the lowercase alphabet in four stroke families (undercurve, loop, downcurve and overcurve) with a model letter, start dots and arrows, practice rows, joins and words. Its families are named by stroke, so they do not map exactly onto the table above. Both approaches follow the same idea: letters that start the same way are learned together.
How do you teach joins, words and capitals?
Teach joining only after the child can form a handful of letters with confidence. A join is just the exit stroke of one letter leading into the next. Move through these steps in order and stay on each one until it feels easy.
- Join two letters you already know. Pick pairs from one group, such as “ui” or “at”. Say the letters aloud as you write.
- Write short words. Three-letter words such as “tub”, “wet” and “cap” are enough. Have the child lift the pencil only between words.
- Add the harder joins. Letters such as b, o, v and w end near the top of the line, so the join that follows is a little different. Give these their own short practice.
- Teach capitals. Start with the capital that begins the child’s own name, then add the others a few at a time. Capitals are mostly written alone, so they feel different from the lowercase letters.
- Move to sentences. Copy one short sentence a day, with a model above and a line beneath.
Once your child writes whole words smoothly, copying good sentences is the next step. Our guide to copywork explains how to run those sessions.
What does a 10 to 15 minute cursive lesson look like?
A short lesson works best when it follows the same pattern each day, so the child knows what to expect. This routine is our suggestion, and the minutes are approximate.
| Minutes | What to do |
|---|---|
| 1 | Check the seat, pencil and paper tilt |
| 2 to 3 | Warm up with swings, hills and loops, on paper or in the air |
| 3 to 4 | Practice one or two new letters: watch you write one, then trace, then write alone |
| 3 to 4 | Review an earlier letter or join, then write one short word |
| 1 | The child picks their best letter and circles it |
Stop when the time is up, even if the child wants to keep going. Stopping while it still feels good is the easiest way to get them to come back tomorrow.
What are the common problems and how do you fix them?
Most cursive problems come from speed, grip or an unclear starting point, and each has a simple adjustment. Check the cause before asking the child to try harder.
| Problem | Likely cause | Try this |
|---|---|---|
| Letters float above or sink below the line | Writing too fast, or the line is hard to see | Slow down, or use paper with a clear baseline |
| Letters lean in different directions | Paper tilt changes as the child writes | Reset the paper, and draw a few slant lines first |
| Loops are squashed | Small movements from the fingers only | Practice big loops on a whiteboard first |
| Letters are too big or too small | No sense of the middle line | Use lines with a dotted middle |
| Hand cramps | Gripping the pencil too hard | Rest, shake out the hand, and try a different pencil |
| Gaps between letters in a word | Lifting the pencil too often | Practice the join on its own, then the word |
How long does it take to learn cursive?
How long cursive takes depends on the child and how regularly they practice, so we do not give a number of weeks. What steady practice looks like is simple: a short lesson on most days, a few new letters at a time and regular review of what came before.
Progress is rarely a straight line. Letters that looked good on Monday may wobble on Thursday, and that is normal. One plan in our bundle spreads the lowercase letters, joins and words across 30 weeks, which shows that the work is meant to be spread out rather than rushed.
What does research say about teaching handwriting?
Research supports teaching handwriting directly, with a modest amount of caution about cursive in particular. A meta-analysis of K-12 intervention studies by Santangelo and Graham (2016) found that handwriting instruction improved the legibility and fluency of handwriting. It also improved the quality, length and fluency of students’ writing.
On cursive specifically, a 2026 systematic review from the Iowa Reading Research Center looked at 26 studies. It concluded that handwriting instruction can support writing development, and that effective cursive teaching looks much like effective print teaching: explicit instruction, repeated practice and visual cues. It urges caution because study quality varies and more than half of the studies were done outside the US. We do not claim that cursive is better than print.
Which printables help with teaching cursive?
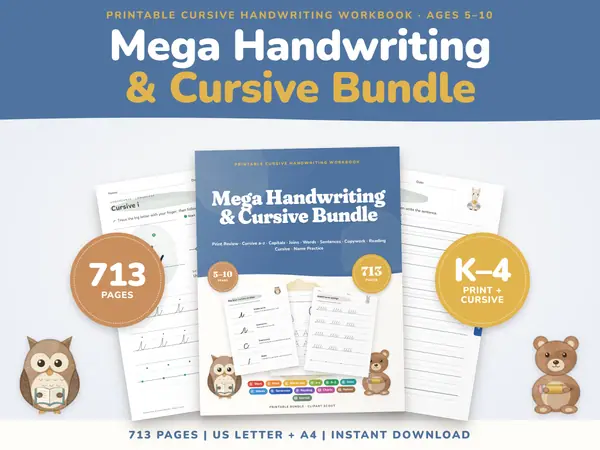
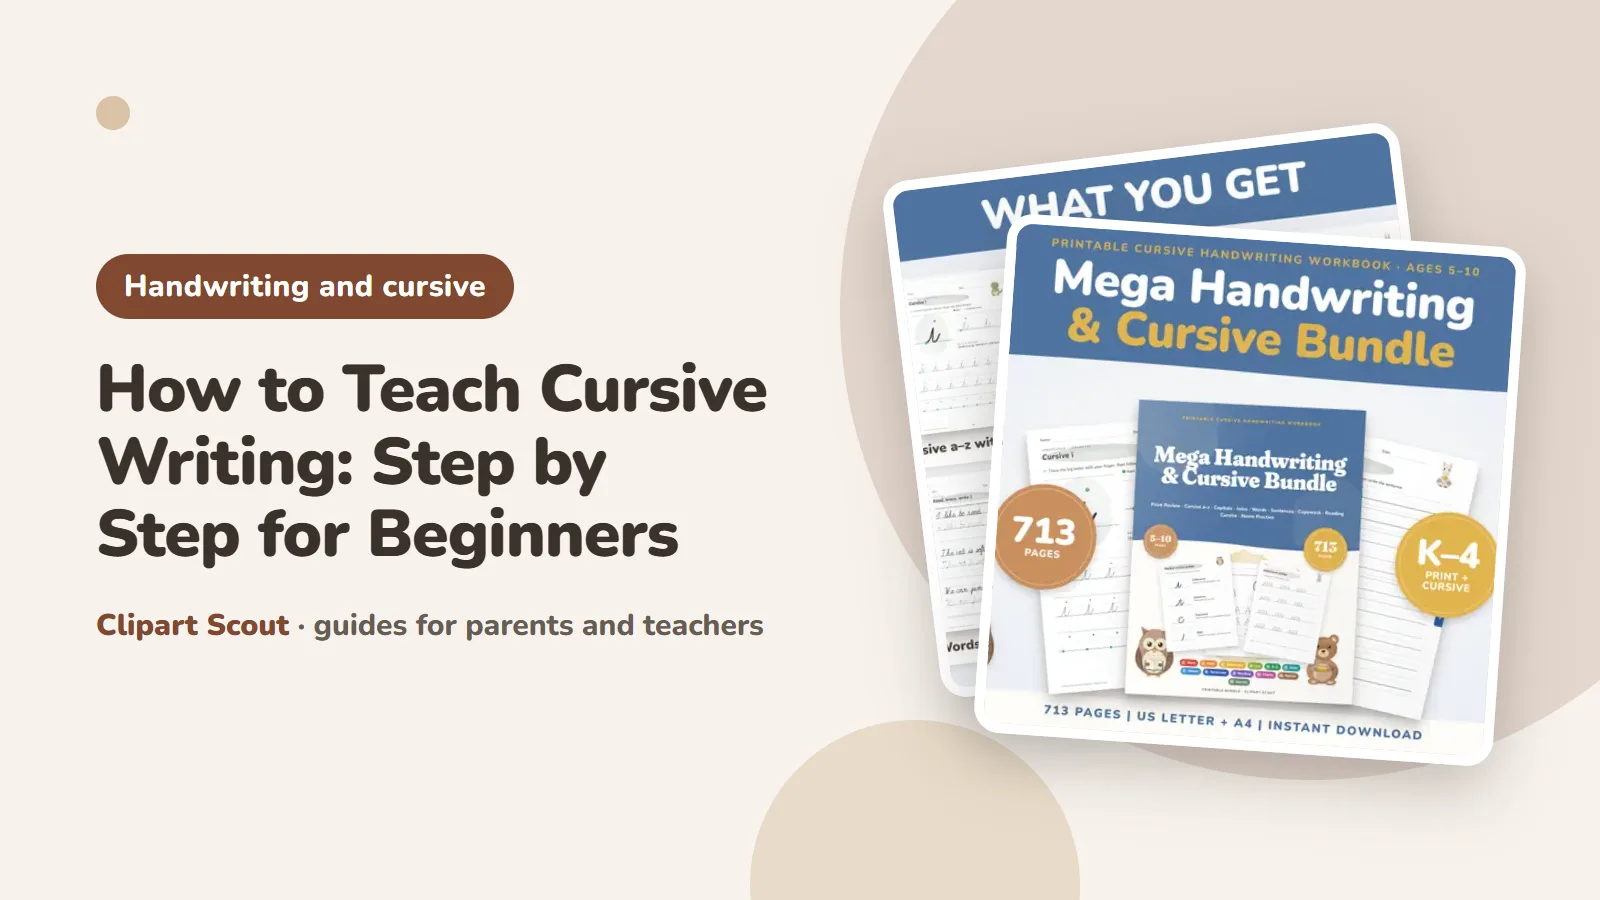
A printable can save you the work of drawing models and practice lines. The Cursive Handwriting Practice Bundle has 713 pages, including a Start Here section on the four cursive strokes, how to sit and hold the pencil, and a 30-week plan.
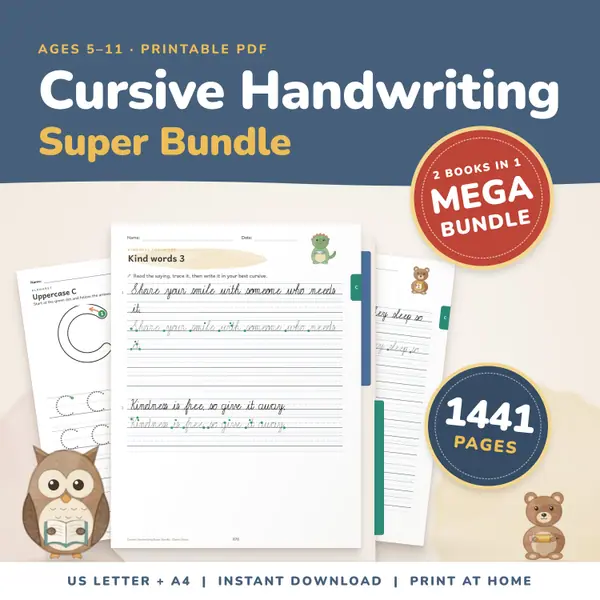
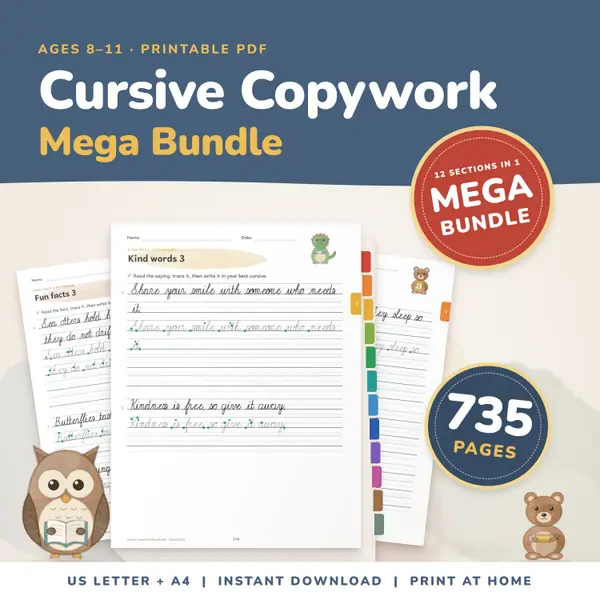
For a child who has finished the letters and joins, the Cursive Copywork Bundle has 735 pages for grades 3 to 5 and a 36-week plan in its Start Here section. The larger Cursive Handwriting Practice Super Bundle has 1,441 pages and combines both.
You can see more in our handwriting and cursive practice shop. If you also want to know what a 3rd grader is expected to write, see what a 3rd grader should know. Adults who want neater cursive of their own can read our guide on improving handwriting as an adult.
What to do next
- Check readiness with the list above, and spend more time on print if printing is still hard.
- Set up the seat, pencil and paper tilt, and try a few warm-up strokes together.
- Pick the first group of letters and plan a ten-minute lesson for tomorrow.
- Write the date on each day’s page, so that you and your child can see progress after a few weeks.
- Browse our handwriting and cursive practice pages when you want ready-made models.
Sources
- Cursive Is Making a Comeback. It Won't Be Without Challenges, Education Week (2 March 2026).
- Cursive Handwriting Instruction in K-12 Classrooms: A Systematic Review of Research, Iowa Reading Research Center, University of Iowa (2026).
- A Comprehensive Meta-Analysis of Handwriting Instruction, Santangelo and Graham, Educational Psychology Review (2016), ERIC record EJ1100680.
This guide is general information for parents and teachers. It is not medical, legal or professional advice. Every guide lists its sources at the end. More about our guides is on the About page.